Installing LifeProof Flooring
Tips on how to install and maintain
Upgrading your floors with LifeProof vinyl wood flooring is a fantastic way to enhance the beauty and durability of your home. This type of flooring is known for its resilience, easy maintenance, and attractive appearance. Here’s a detailed guide on the installation process, tips for a successful project, and upkeep advice.
Project Background
For our recent project, we replaced old glued-down vinyl flooring with LifeProof vinyl wood flooring. The process involved removing the old flooring, leveling the subfloor, cutting the new flooring to fit, and then laying it down. Here’s how we did it and what you need to know.
Preparing the Subfloor
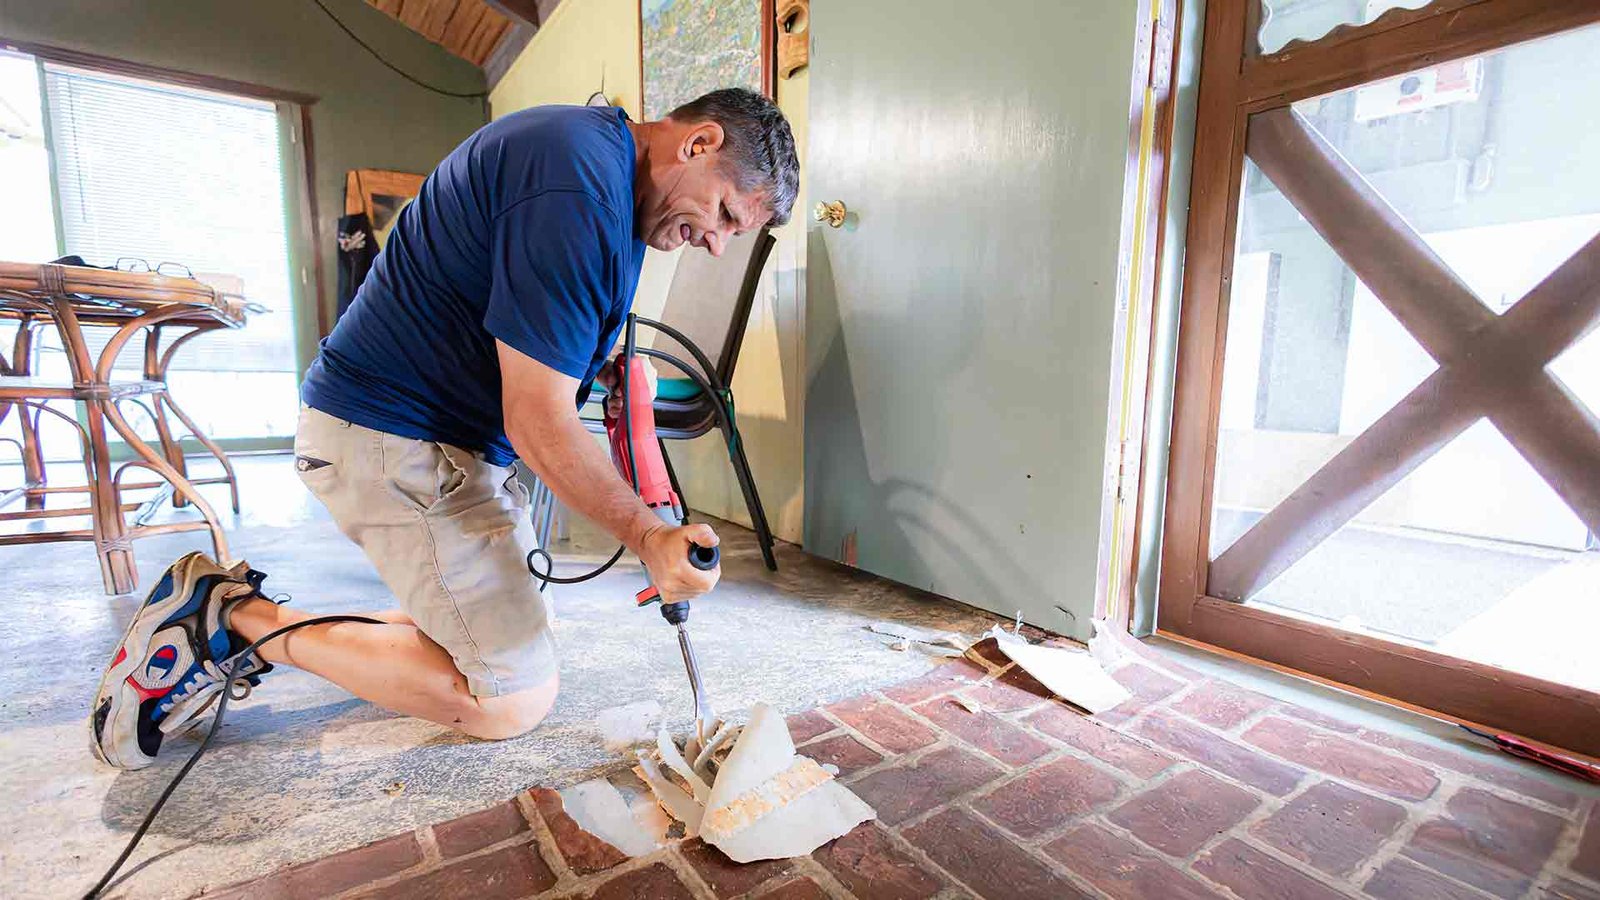
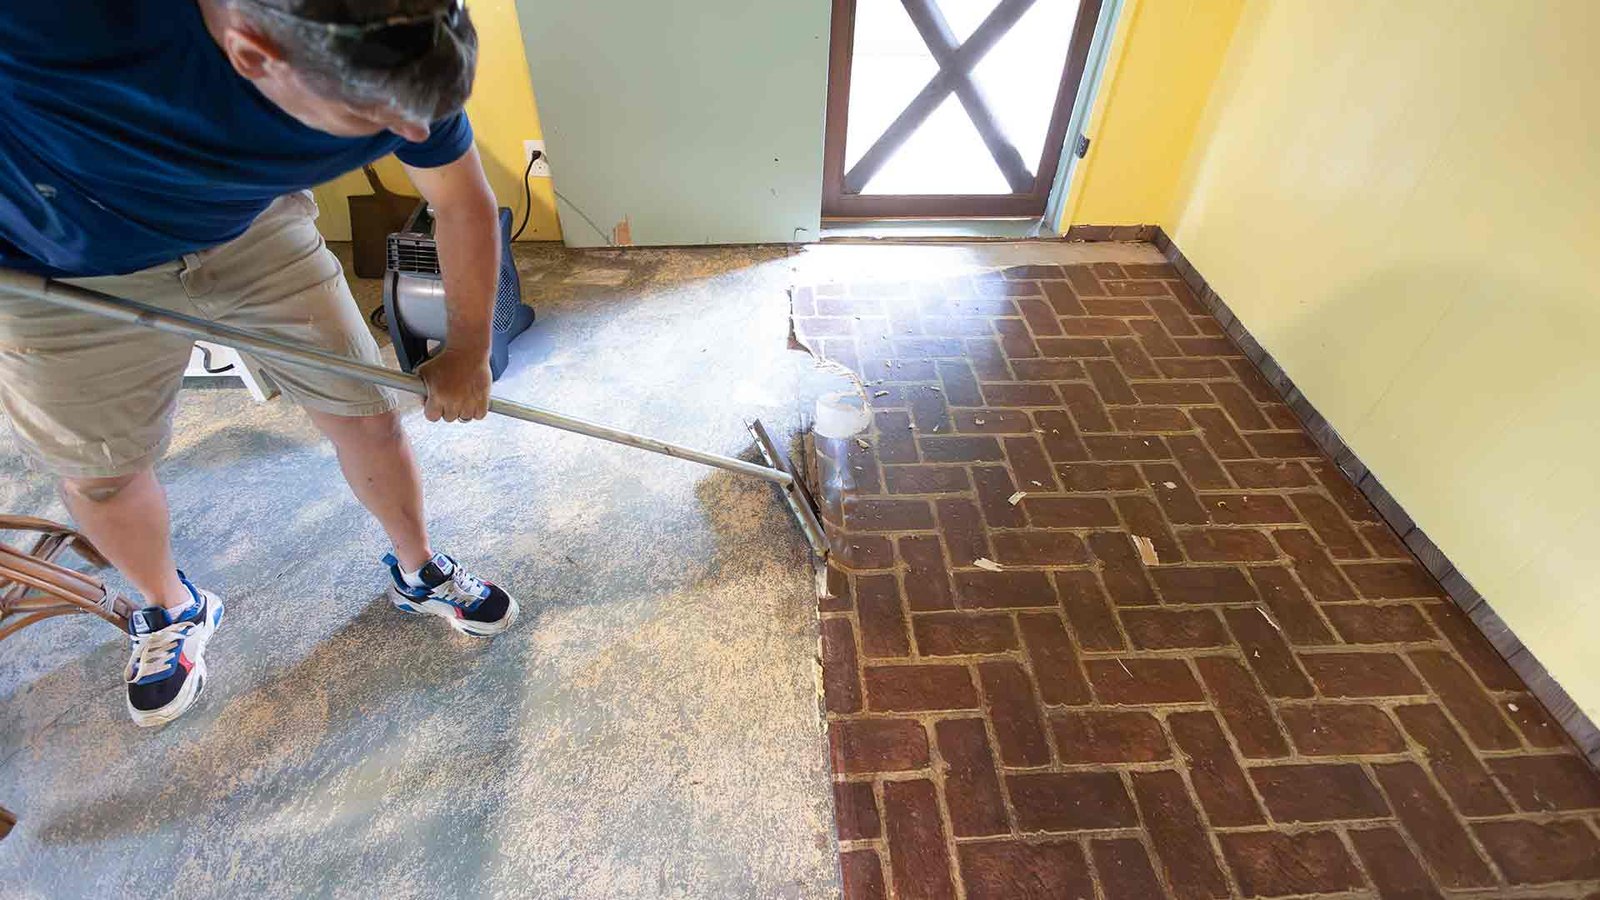
- Removing Old Flooring: The first step was to remove the previous vinyl flooring, which was glued down. We used a roto hammer to lift and scrape off the old material. This tool made the removal process quicker and more efficient.
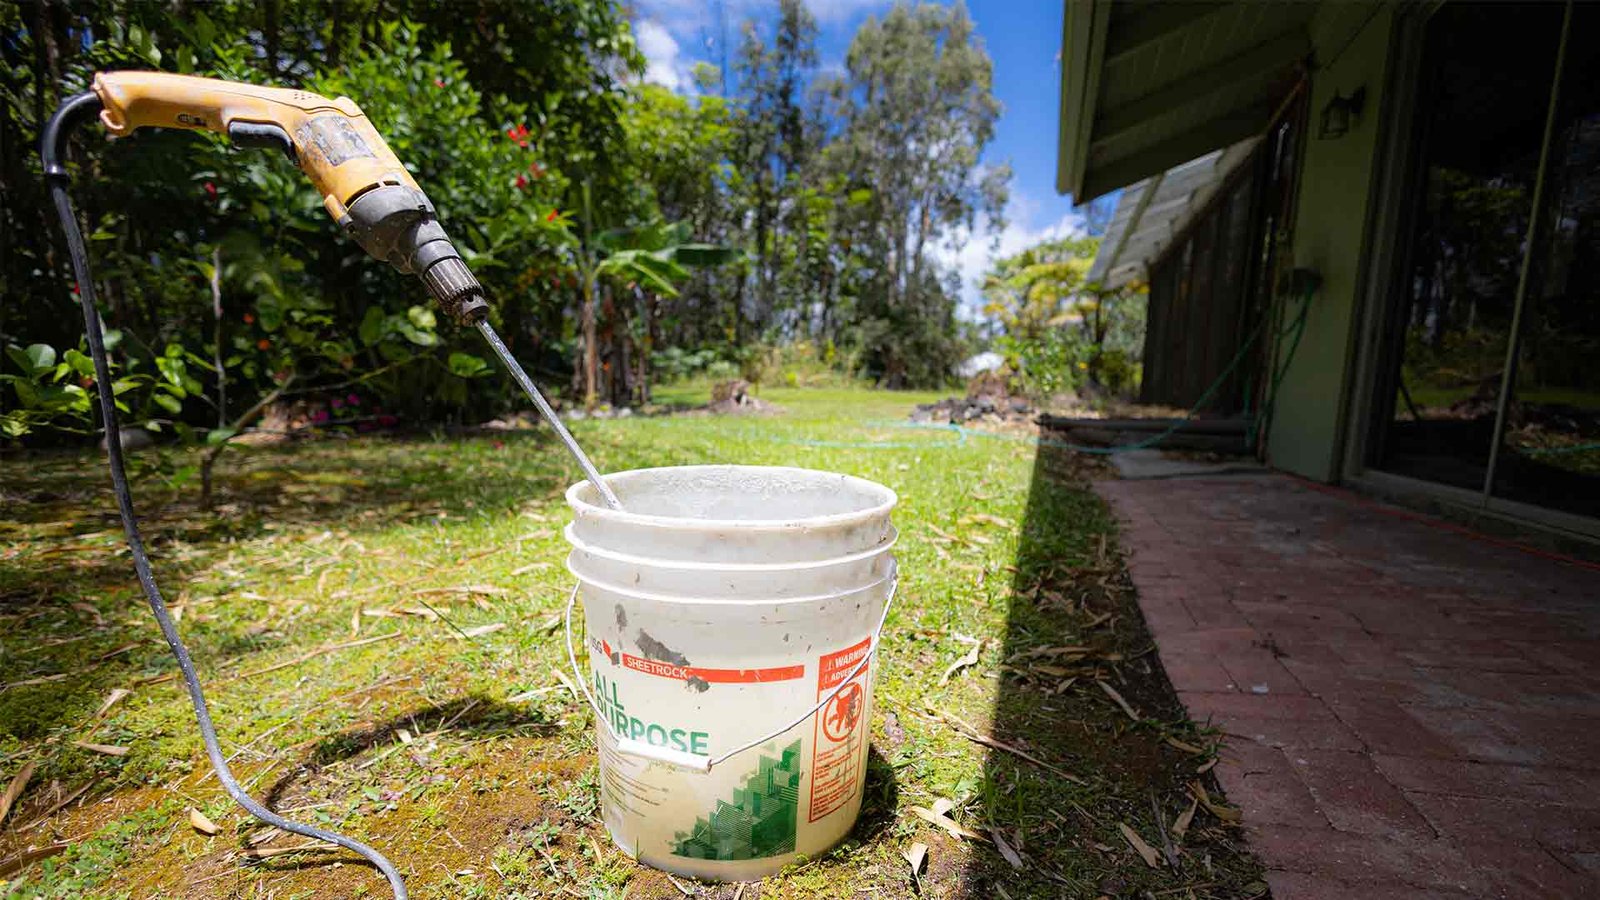
- Leveling the Subfloor: With the old flooring removed, we addressed the uneven concrete beneath. We used Fixall putty to fill in gaps and level out the differences in height. A smooth, level subfloor is crucial for the proper installation of new flooring.
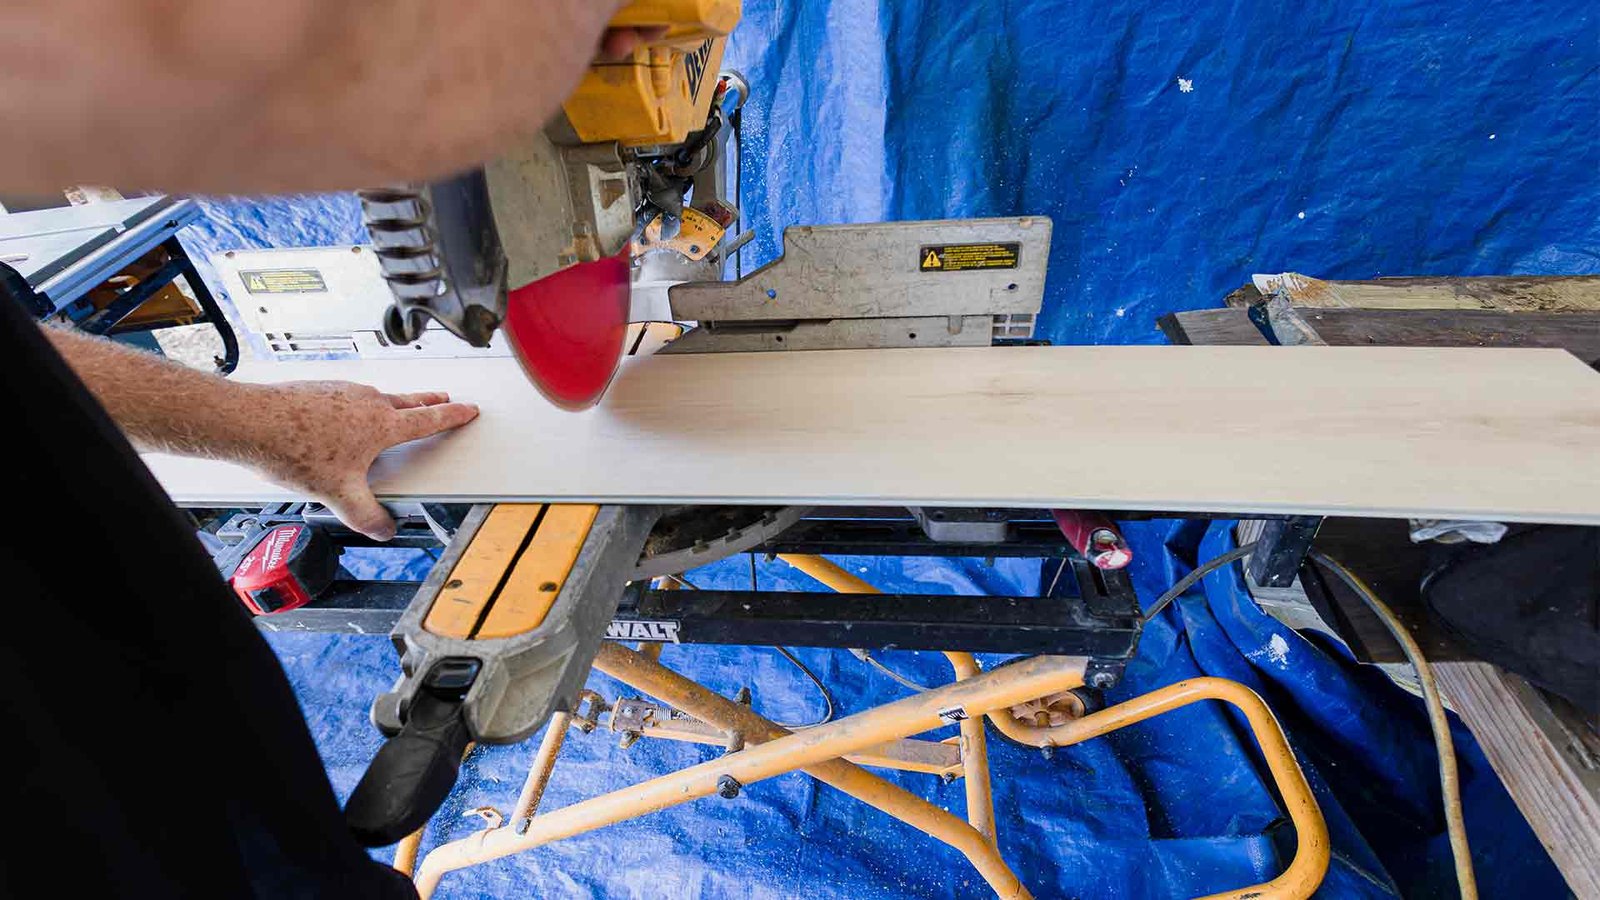
Cutting and Laying the New Flooring
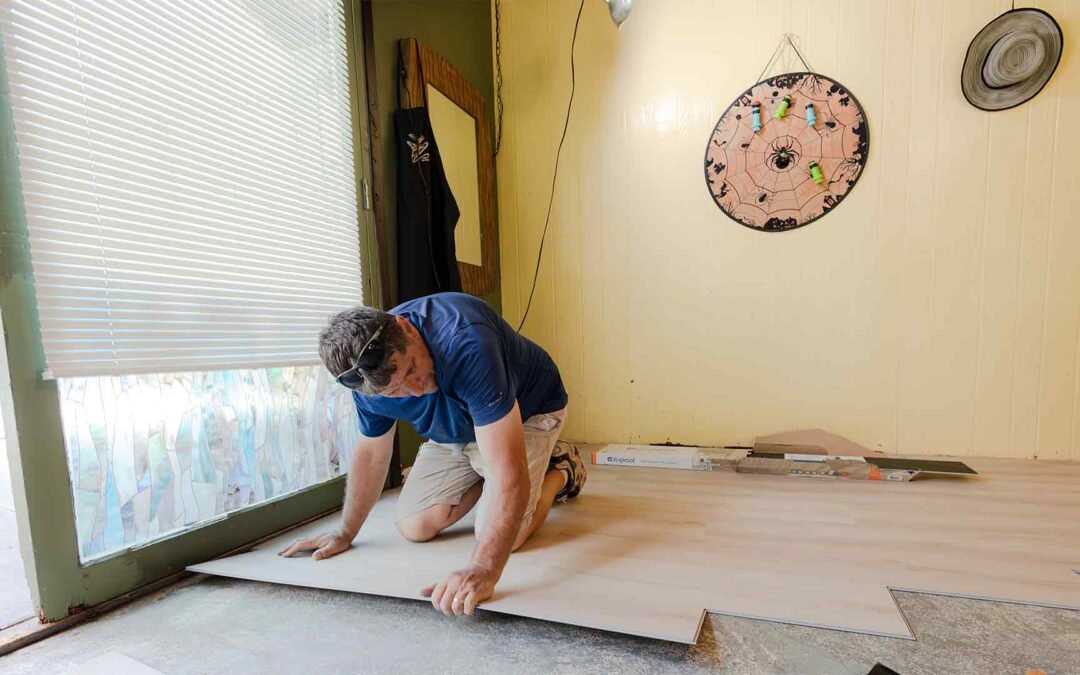
- Cutting the Flooring: Using a table saw, we cut the LifeProof vinyl wood planks to fit the dimensions of the room. Accurate measurements and careful cutting ensure that the planks fit together seamlessly.
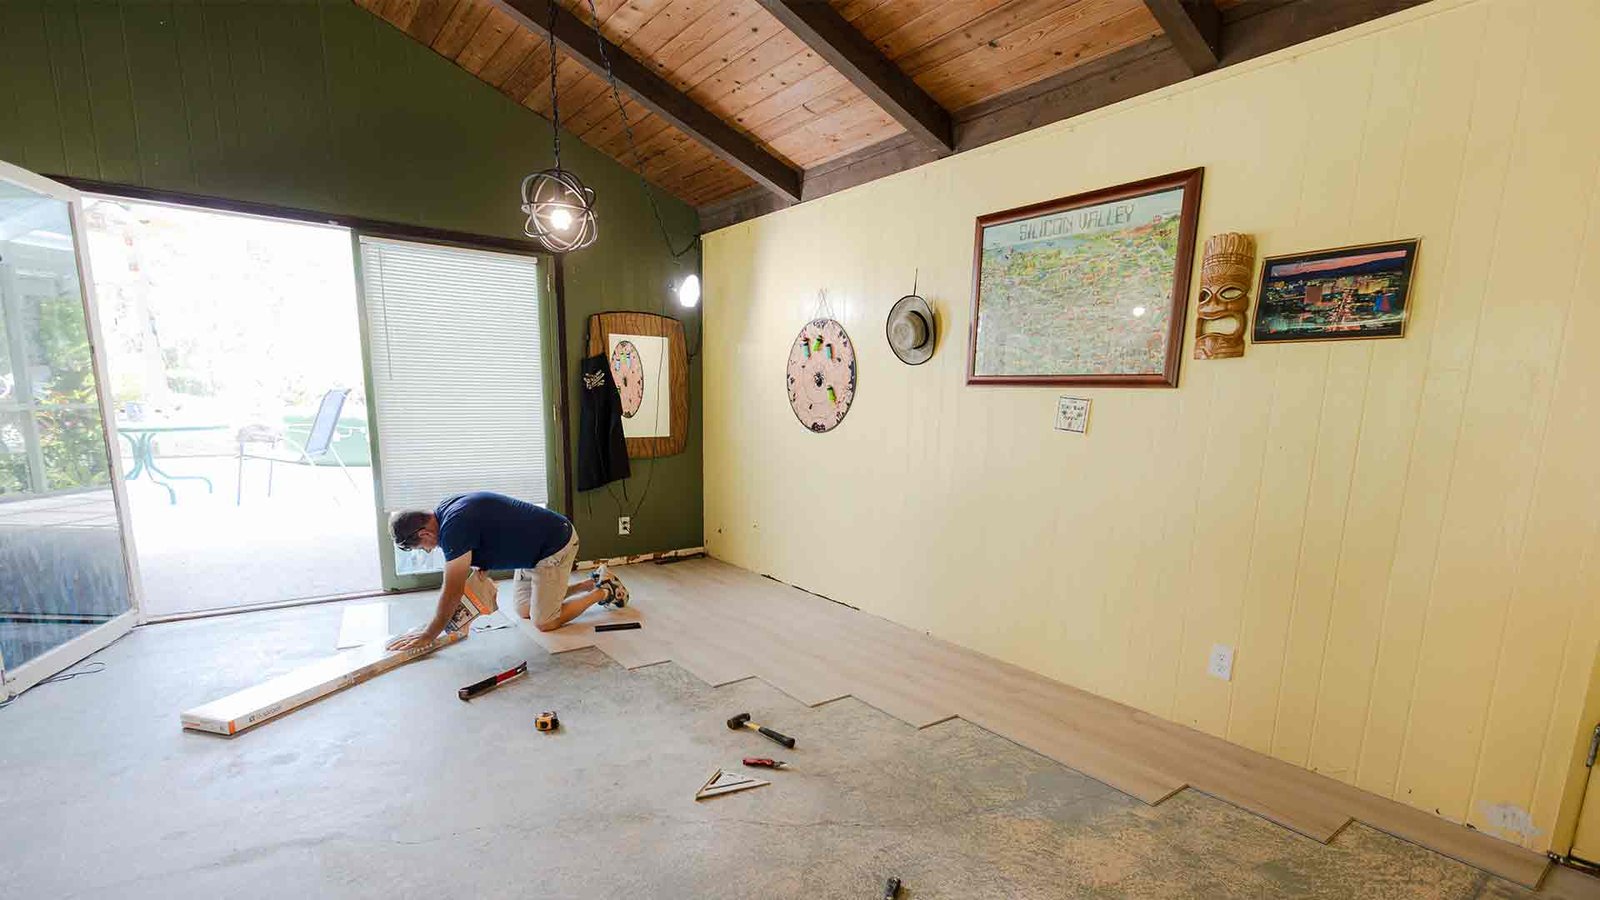
- Laying the Flooring: We began laying the flooring from one corner of the room, working our way across. LifeProof vinyl planks often feature a click-lock system, which makes them relatively easy to snap together. Ensure each plank is securely locked into place before moving to the next.
Tips for a Successful Installation
- Acclimate the Flooring: Before installation, allow the vinyl planks to acclimate to the room’s temperature and humidity for at least 48 hours. This helps prevent expansion or contraction after installation.
- Use Spacers: Place spacers between the planks and the wall to allow for expansion. This prevents the floor from buckling as it expands and contracts with temperature changes.
- Check for Level: Regularly check the level of the floor as you install the planks. Address any issues immediately to avoid uneven flooring.
- Stagger the Planks: Stagger the end joints of the planks in a random pattern. This not only looks more natural but also provides greater structural integrity.
Maintaining Your LifeProof Vinyl Wood Flooring
- Regular Cleaning: Sweep or vacuum regularly to remove dirt and debris. Use a damp mop with a mild cleaning solution for deeper cleaning. Avoid using harsh chemicals or abrasive tools that can damage the flooring.
- Protect from Scratches: Place felt pads under furniture legs and avoid dragging heavy items across the floor. Use rugs in high-traffic areas to minimize wear and tear.
- Handle Spills Promptly: Wipe up spills immediately to prevent staining or water damage. Although LifeProof vinyl is water-resistant, prolonged exposure to moisture can still cause issues.
- Avoid Excessive Moisture: While LifeProof vinyl flooring is water-resistant, excessive moisture can seep into the seams and cause damage. Use a damp, not wet, mop for cleaning.
Installing LifeProof vinyl wood flooring is a rewarding project that can significantly enhance the look and functionality of your home. By properly preparing the subfloor, cutting and laying the planks accurately, and following maintenance tips, you can enjoy beautiful, durable flooring for years to come. Whether you’re a DIY enthusiast or a professional, these tips will help ensure a smooth installation process and long-lasting results. Happy flooring!
Share This
Share this post with your friends!