Installing Deck Stairs
A Quick Guide
Adding stairs to your deck can significantly enhance its functionality and accessibility. Whether you’re building a new deck or upgrading an existing one, installing deck stairs is a valuable project. Here’s a quick guide to help you through the process.
Planning Your Deck Stairs
- Measure and Design: Begin by measuring the height from the deck surface to the ground. This will determine the number of steps you need. A standard step height is around 7-8 inches.
- Choose Materials: Select durable materials that match your deck. Pressure-treated lumber is a popular choice for its durability and resistance to rot.
- Check Building Codes: Ensure your design complies with local building codes and regulations, which may specify dimensions and safety requirements.
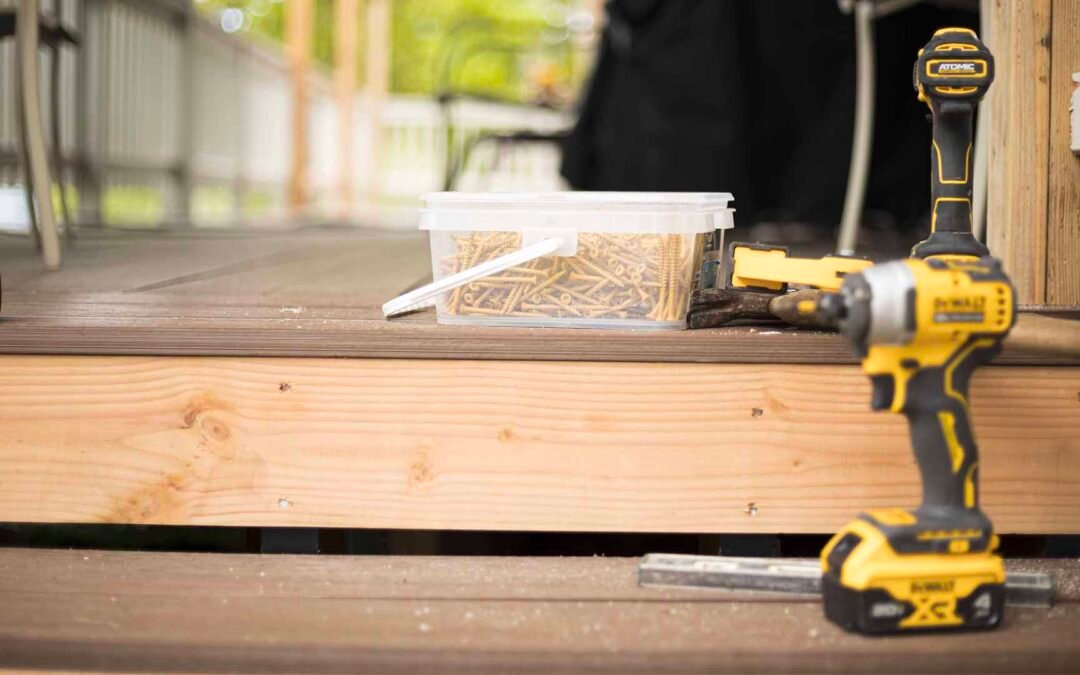
Tools and Materials
- Measuring tape
- Carpenter’s square
- Circular saw
- Drill
- Screws and nails
- Stringers, treads, and risers
Step-by-Step Installation
- Mark and Cut Stringers: Using your measurements, mark the stringers (the sides of the stairs) and cut them out. Stringers typically have notches for the treads (horizontal parts) and risers (vertical parts).
- Attach Stringers: Secure the stringers to the deck using screws or brackets. Ensure they are evenly spaced and level.
- Install Treads and Risers: Attach the treads and risers to the stringers, starting from the bottom and working your way up. Make sure each step is level.
- Secure Handrails: For safety, install handrails along the stairs. These should be sturdy and at a comfortable height.
Finishing Touches
- Sand and Seal: Sand any rough edges and apply a sealant or paint to protect the wood.
- Add Lighting: Consider adding stair lighting for safety and aesthetics.
Maintenance Tips
- Inspect Regularly: Check for loose screws or nails and tighten as needed.
- Clean and Seal: Clean the stairs regularly and reseal the wood annually to protect against weather damage.
By following these steps, you can successfully install deck stairs, enhancing both the look and functionality of your outdoor space. With careful planning and attention to detail, your new stairs will be a sturdy and attractive addition to your deck.
Project Background
Recently, Rob and Robert took on a project to add a clear polycarbonate roof to a preexisting deck. The deck was older and weathered, requiring some repairs to the deck boards and railing to ensure a solid foundation for the new roof. The client preferred to leave the wood unpainted for now. We will see if we can get that painted and maybe rejuvenate the rest of the decks foundation.
What to Consider When Choosing Clear Polycarbonate Roofing Sheets
- Light Transmission: Clear polycarbonate sheets allow up to 90% of natural light to pass through, creating a bright and airy environment. This can enhance the aesthetics of your deck and make it a more pleasant space to spend time in.
- UV Protection: Look for polycarbonate sheets with UV protection. This feature not only protects you and your family from harmful UV rays but also prevents the sheets from yellowing or becoming brittle over time.
- Durability: Polycarbonate sheets are highly durable and can withstand extreme weather conditions, including heavy rain, hail, and strong winds. They are also resistant to impact, making them a long-lasting choice for your deck.
- Insulation Properties: Although clear polycarbonate sheets are excellent for light transmission, consider their insulation properties. Double-walled polycarbonate sheets offer better insulation, helping to keep the deck area cooler in summer and warmer in winter.
- Aesthetics: The clear sheets provide a sleek and modern look. However, ensure that they match the overall design of your home and deck.
- Installation Tips
- Proper Slope: Ensure your polycarbonate roof has a sufficient slope to allow water to run off easily. A slope of at least 5 degrees is recommended to prevent water pooling, which can lead to leaks and damage.
- Sealing: Proper sealing around the edges and joints is crucial to prevent water ingress. Use high-quality sealants compatible with polycarbonate materials.
- Support Structure: The support structure must be sturdy and well-designed to accommodate the polycarbonate sheets. Consider using aluminum or treated wood for the framework to prevent corrosion and decay.
- Thermal Expansion: Polycarbonate sheets expand and contract with temperature changes. Leave some room for thermal expansion during installation to avoid warping or cracking.
Tips for Taking Care of Clear Polycarbonate Roofing Sheets
- Regular Cleaning: Clean the sheets regularly to maintain their clarity and appearance. Use a mild soap solution and a soft cloth or sponge to avoid scratching the surface. Rinse thoroughly with water.
- Avoid Abrasive Cleaners: Do not use abrasive cleaners or brushes that can scratch the polycarbonate surface. Avoid using solvents such as acetone, benzene, or turpentine.
- Inspect for Damage: Periodically inspect the sheets for any signs of damage, such as cracks, holes, or discoloration. Address any issues promptly to prevent further damage.
- Clear Debris: Remove leaves, twigs, and other debris from the roof regularly to prevent clogging and water accumulation. This also helps in maintaining the aesthetic appeal of the roof.
- Check Sealants: Inspect the sealants around the edges and joints periodically. Reapply or replace sealant if it shows signs of wear or deterioration.
Regular Upkeep
- Annual Inspection: Conduct an annual inspection of the entire roofing system, including the support structure, fasteners, and sealants. Look for any signs of wear and tear or potential problems.
- Clean Gutters and Drains: Ensure that gutters and drains connected to the polycarbonate roof are clear of debris. Blocked gutters can cause water to back up and damage the roof.
- Trim Nearby Trees: Trim any overhanging branches that could drop leaves or cause damage to the roof. This also reduces the risk of mold and algae growth.
- Address Algae and Mold: If algae or mold begins to grow on the sheets, clean it off with a solution of water and mild bleach. Rinse thoroughly to remove any residue.
- By considering these factors and following these maintenance tips, you can ensure that your clear polycarbonate deck roofing remains in excellent condition, providing you with a beautiful and functional outdoor space for years to come.
Share This
Share this post with your friends!